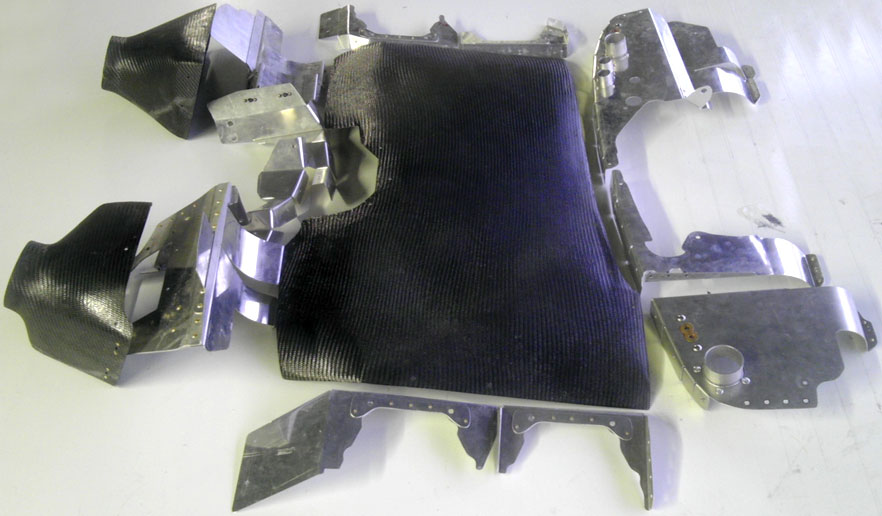
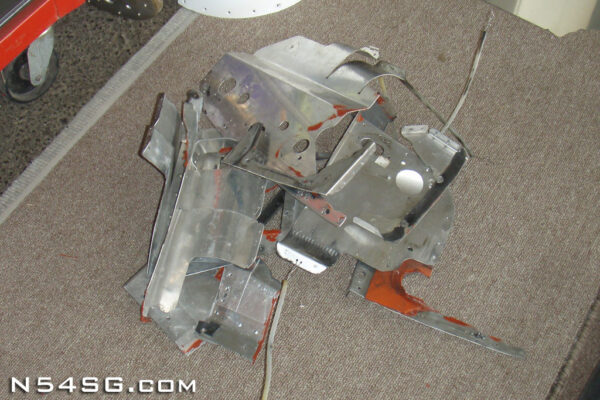
It is of no surprise that when I chose to make a few changes to my engine baffling, it meant I had to start over from scratch. As with most things about this airplane, the engine installation was horrible. The baffle kit that was used, was never made to last. Sure it did the job after some “fixes” but it wasn’t pretty. It lacked many of the required supports to prevent it from cracking/etc, so I found it to be in shambles when I took it off. This baffle kit would be the catalyst for my firewall forward overhaul.
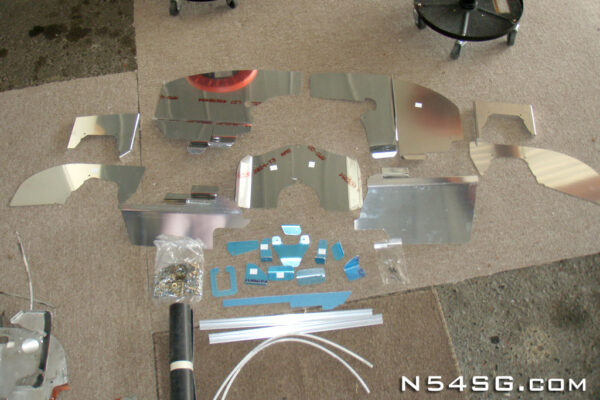
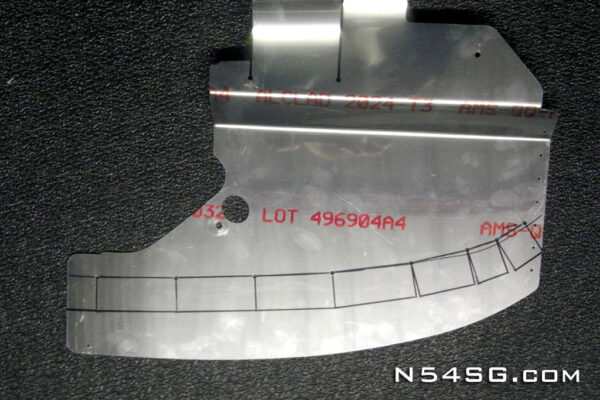
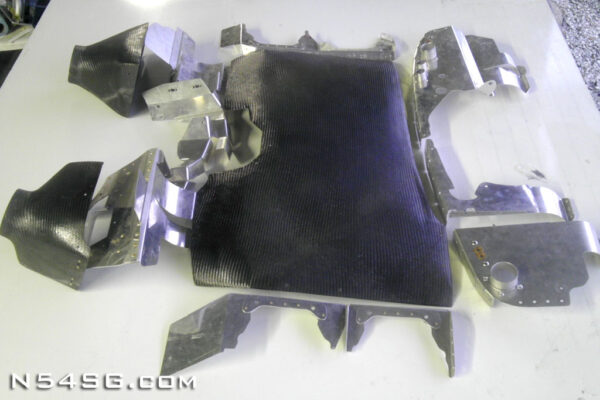
It started with a pile of parts (the old baffle kit) next to a pile of new parts. I got the new kit from Van’s aircraft. It is their standard kit for an angle valve IO-360. Same external dimensions as my XP-400. But as I have often said, when you compare the space under the cowl of a Vans airplane to this Lancair, they are far from similar. Also I would be building a plenum and diffusers to capture all of the air entering the cowl. This required a serious deviation from the plans.
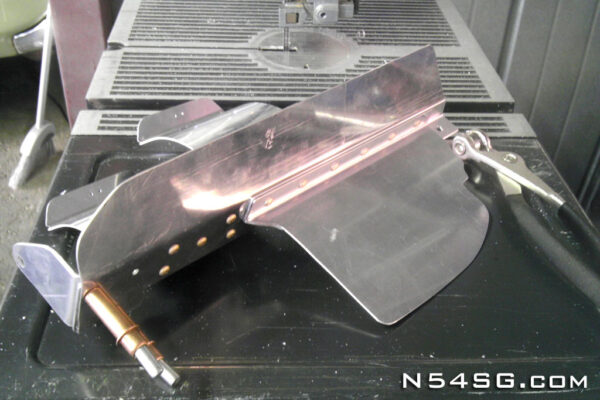
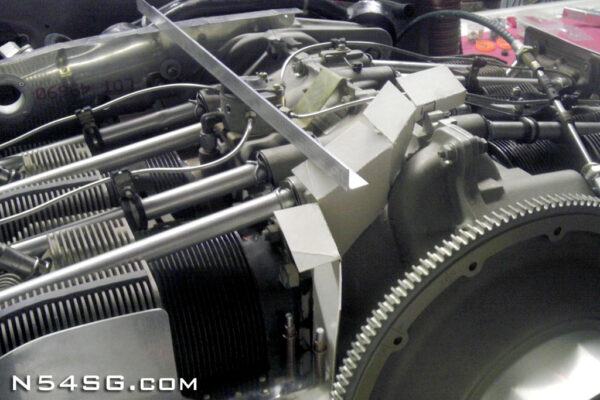
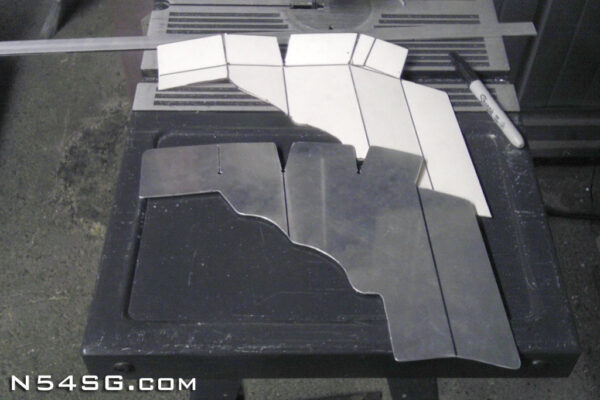
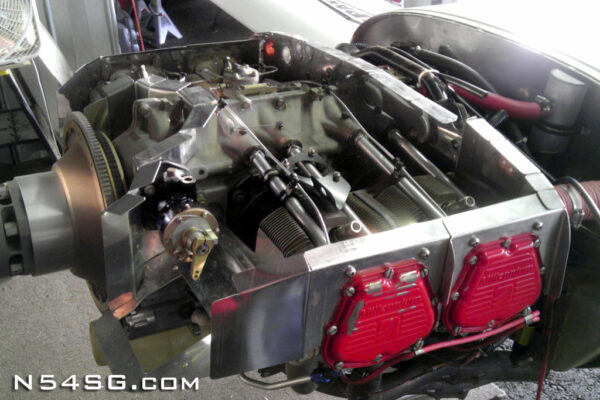
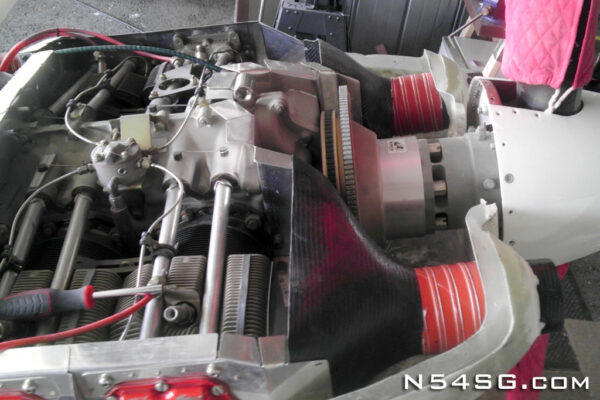
I started by fitting up some of the major parts to the engine, trimming where required. Let the record show I had to buy almost all the tools to build an entire aluminum airplane, just to build this baffle kit. Looking back, a composite baffle kit sure would have been tempting.. Anyway The challenge was to make the baffle kit accommodate a plenum. Generally it is the other way around. People make their plenum work with the current baffle. I wanted purpose built, from the start.
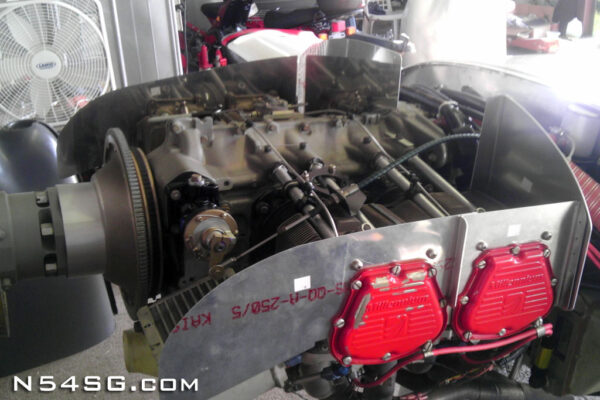
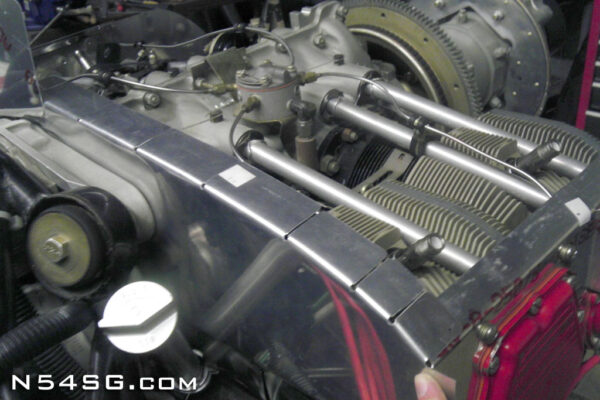
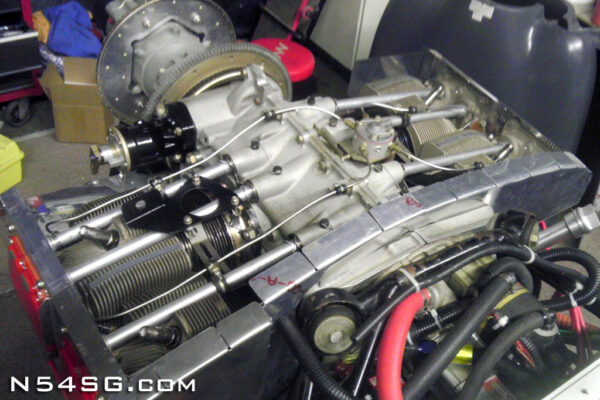
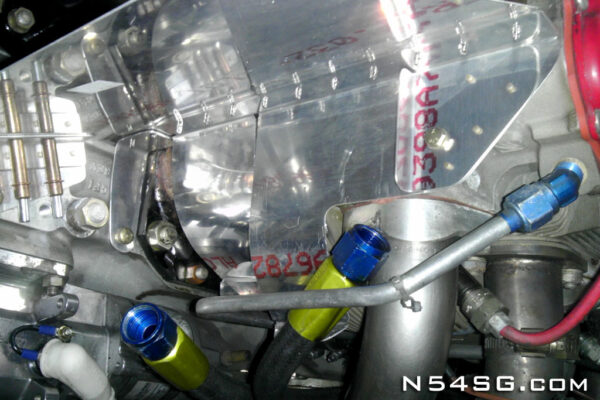
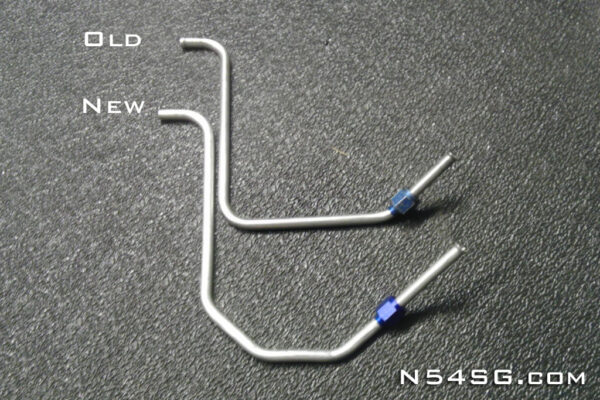
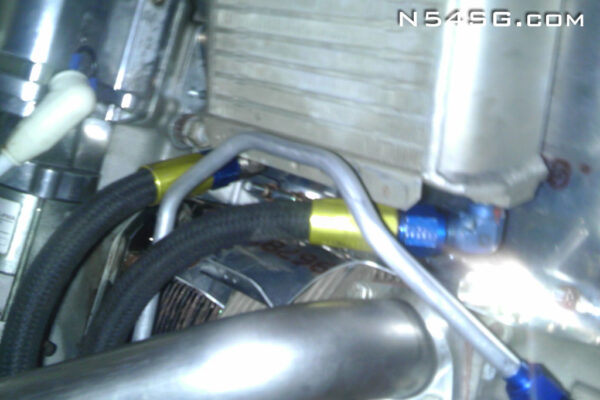
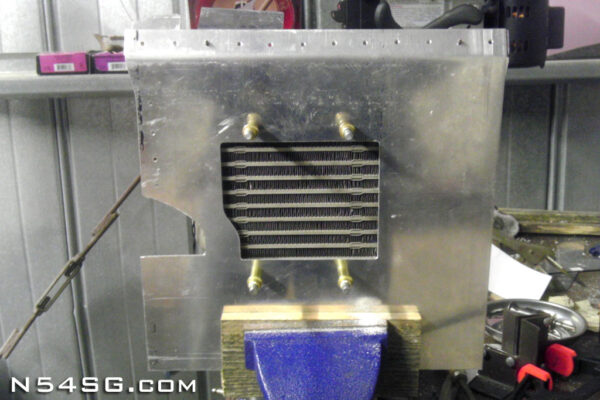
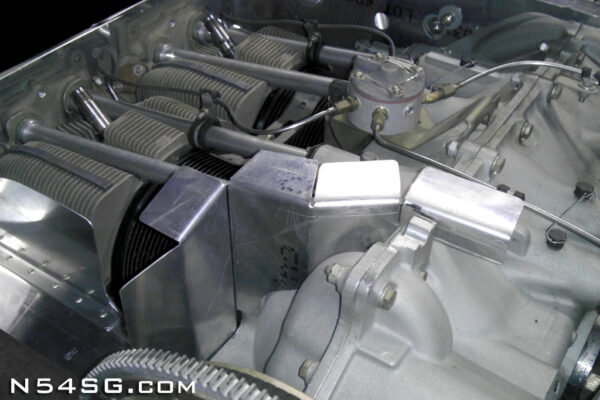
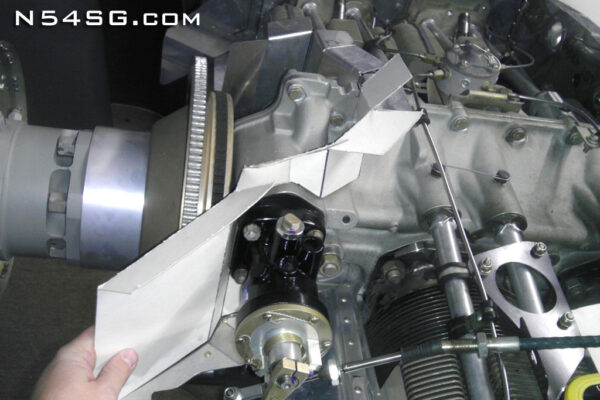
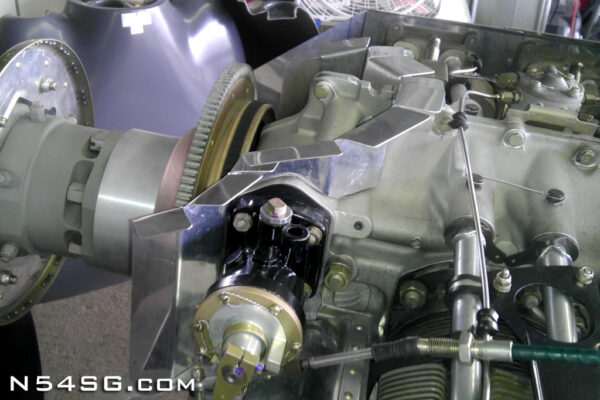
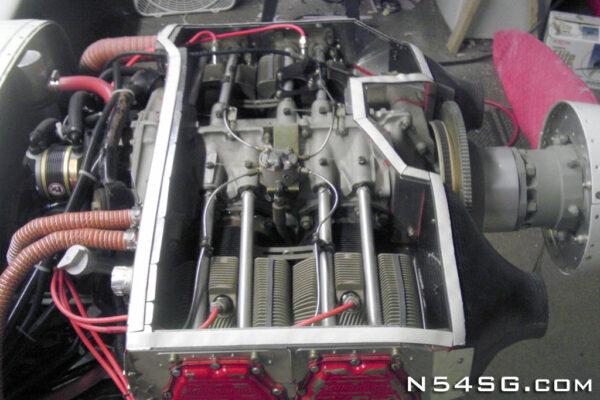
I chose to build the kit with a 1 inch wide flange that would surround the engine. This flange would allow the plenum to lay flat and provide enough area for nut plates etc. Very simple to install/remove the plenum for service. Also I have a 2 oil coolers, one of them being mounted just forward of #2 cylinder. The old baffle was cracked and couldn’t support the weight. I added a .080 plate around this entire area, and support it from a few sides. This kept things nice and rigid. Also the oil return from the head would interfere with the oil cooler supply line, so it required I make a new hard line to give everything enough room.
The flange required some creative bending among the parts. Namely the forward baffles that traverse over the engine case. The cowling was very close to the top of the case near the front, so I didn’t want to make the plenum go above the case. It would make the cowling that much bigger. My solution keeps it behind the case, and close.
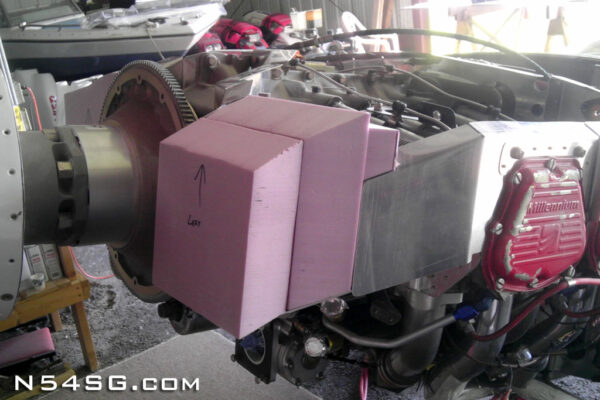
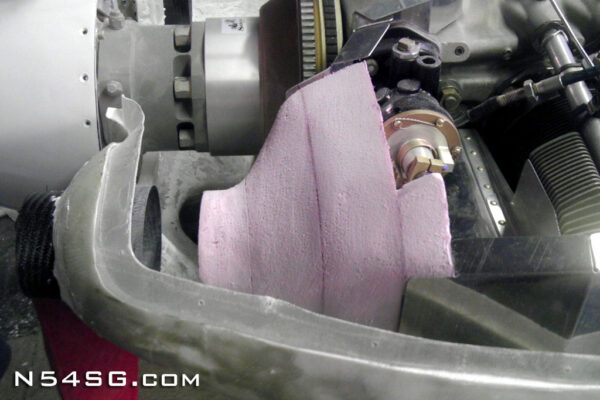
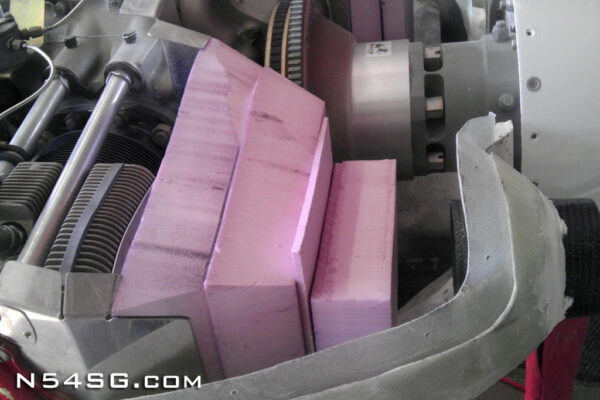
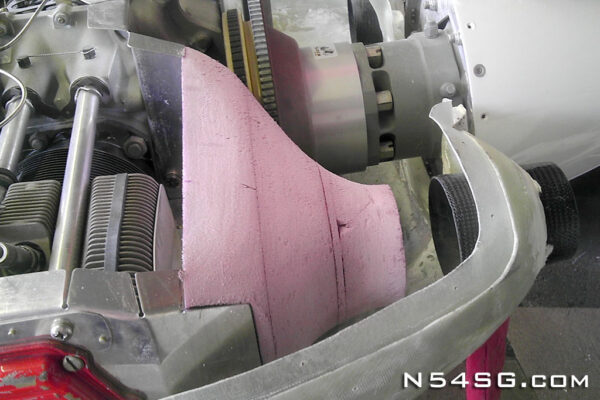
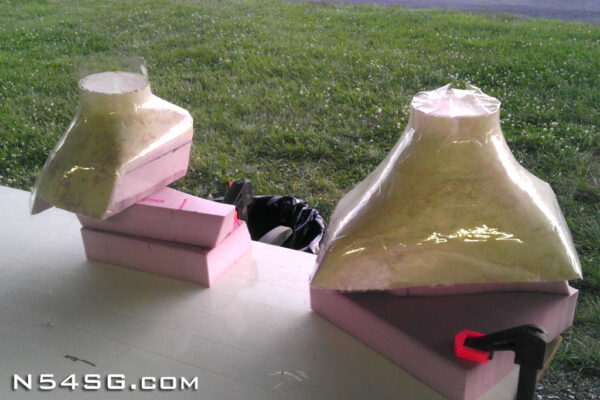
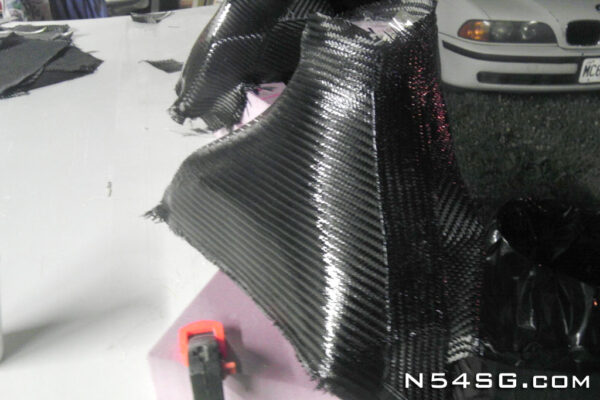
Ok, now the easy parts. Composites are so much better. At this point I had the lower cowling inlets somewhat in place. This located the inlet area in space so I could be sure of a matched inlet/diffuser path. I used pink foam (polypropylene) hot glued in place to establish the outer edges of the baffle. Then I sanded the shape to create the smoothest transition from a round inlet to the rectangle cylinder shape. This is a key component in cooling drag efficiency. Once I had the shape, slap 3 layers of carbon on them and bingo, diffusers!
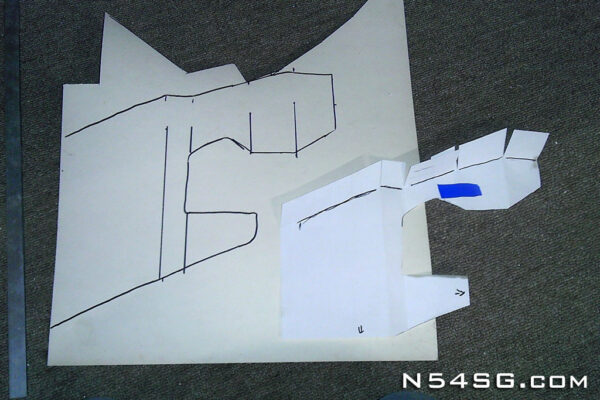
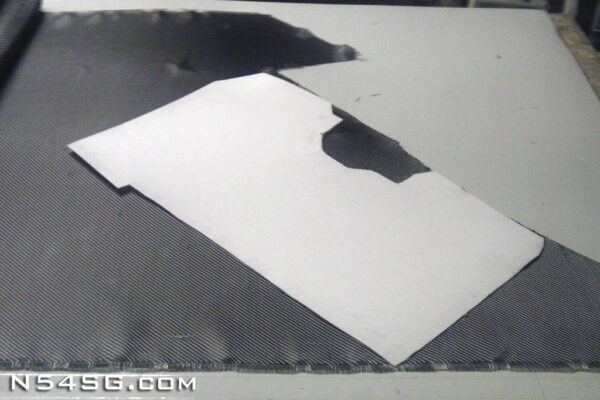
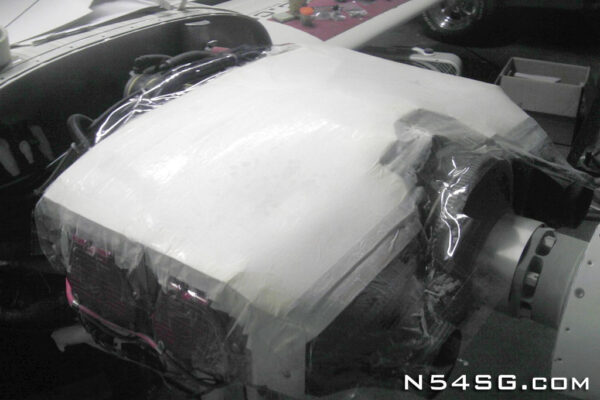
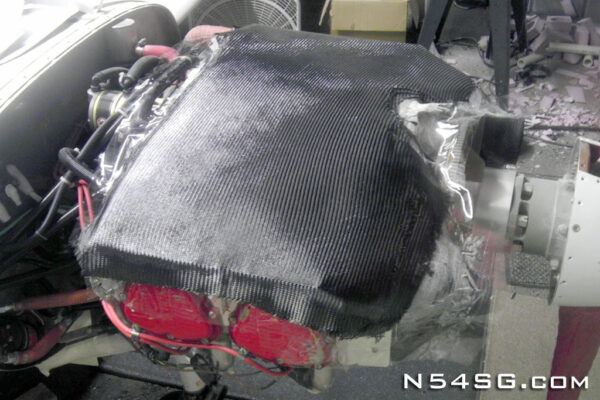
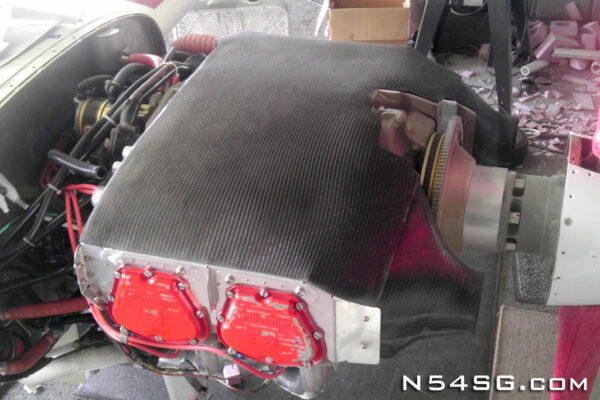
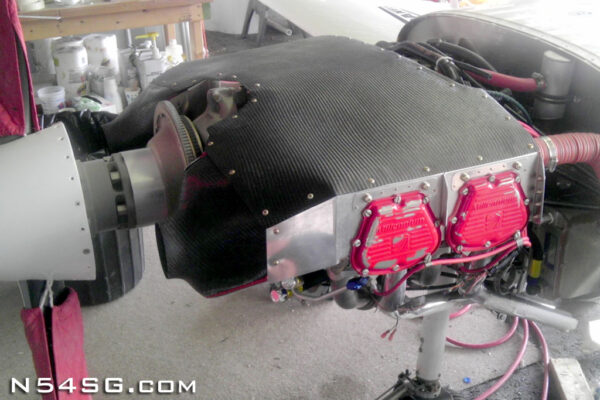
Now, on to the plenum. I used thick poster board to define the shape of the part. This gave me a template to cut the shape out of the roll of carbon. As expensive as that stuff is, you don’t want to waste much. Once I had the raw material cut, I used that same poster board as a “lid” to cover the engine. I taped it down well and covered it with mold release. Now I could layup the carbon directly on the engine, ensuring an exact fit. Once cured I trimmed it to size and match drilled for all the screws.
The entire baffle kit had to be removed for the installation of all the required nut plates and final hardware. While I was reinstalling everything I was careful to seal all the corners and exposed gaps with high temperature silicone. I wanted to be sure that I wasn’t letting any air escape where it couldn’t be used. Also, I installed a cheap adhesive weather strip around the edge of the plenum. (the white strip) This ensures a plenum to baffle seal, and I don’t tear it up when I remove the plenum for service.
I haven’t run the engine at race power yet, but I can say this, it has never run this cool! On my way to PRS I could to max power climbs to any altitude (at gross weight) and only see oil temps of 210, maybe.. Before I would be in the high 220’s after 3 min! Cruise oil temps are 190’s. CHT might get to 390’s in the climb, and then drop to 350’s in cruise. Keep in mind, this is with 1/3 the cowling exit area of my old cowling. But, that is covered more in my cowling upgrade post, and I will have that up shortly!

Just curious as to why you chose to use carbon fiber rather than fiber glass? I’m looking forward to you cowling upgrade report. I have the old style cowling with the inlets split between the top and bottom cowls. I want to build a plenum with the diffuser inlets but I don’t want to build a new cowl. That may take some ingenuity on my part.
It looks like you had to make quite a bit from scratch. Were you able to use a significant amount of the original baffling you got from Van’s?
Sorry for the late reply.
My old plenum was cheap fiberglass and when it got up to temp would get pretty soft. Part of that is the resin I used, part the cloth. So I hoped carbon would do a better job at temp. The other main reason is it just looks cool, and thats probably the bigger motivator.
Every Vans part required some modification. I don’t think I used any part and left it “stock”. That being said, the Vans kit is a huge head start. The cylinder wraps alone are worth it. Many of the small angles that support corners are not needed if you connect everything the way I did. The oil cooler up front required a lot of extra work.
Probably the best way for you to do it would be to copy the Sam James Vans cowl inlets. Make a ring that fits in either half of the cowl, and attached to your diffusers with scat tube. So you could pull either cowl, and the ring stays in place. Just a thought
Just curious did you make molds for the plenum/baffle kit…. The cowling? Do you plan to sell kits.
Darren
813 230-8202
The plenum, diffusers and cowling were just a one off. And there is some reasoning behind that. For starters, there are very few angle valve engines in Lancair 360’s. Then my combination of short engine mount, and 2.25″ propeller extension and it makes it a bit of an odd duck. Now, works great for me, but not something your going to find anywhere else. So, this grouping of variables means it is unlikely these parts will fit anything else. Thus, I didn’t make molds. Cost and time played in to that. Ideally I would like to have molds for the cowling at least. The other parts are rather simple to hand make. I just haven’t found anybody in need of an angle valve cowling with these dimensions. Specifically, a longer more pointy nose, with 4 individual exhaust pipes.. If you still wanted a cowl, let me know and I’m sure we could make some molds.. Tom